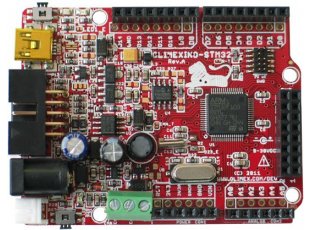
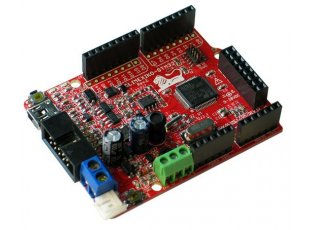
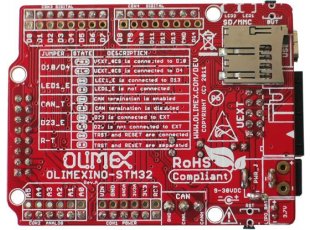
After the first blink example on OLIMEXINO-STM32 board using the MAPLE ide, the next and obvious example is "Hello World". I have modified the Blink without delay example available in Maple and added Serial code.
The serial output will be available on the SerialUSB port through the mini usb cable connected to the PC. In addition to three serial ports, the Maple’s STM32 microprocessor includes a dedicated USB peripheral. This peripheral is used to emulate a regular serial port for use as a terminal. The emulated terminal is relatively slow; it is best for transferring data at regular serial speeds (kilobaud).
Library access to the emulated serial port is provided through the SerialUSB object. You can mostly use SerialUSB as a drop-in replacement for Serial1, Serial2, and Serial3.
The baud rate by default is 115200.
Here is the code. Copy it to a blank sketch and compile.
/*
Hello World -Blink without delay
Send out "Hello World" over SerialUsb port at 115200 baud rate.
Turns on and off the built-in light emitting diode (LED), without
using the delay() function. This means that other code can run at
the same time without being interrupted by the LED code.
created 2005
by David A. Mellis
modified 17 Jun 2009
by Tom Igoe
modified for Maple 27 May 2011
by Marti Bolivar
Modified by Jaime Fernandes 17 Feb 2013
Uses the inbuilt millis() function to get time elapsed in milliseconds
*/
// Variables:
int previousMillis = 0; // will store the last time the LED was updated
int interval = 1000; // interval at which to blink (in milliseconds)
void setup() {
// Set up the built-in LED pin as output:
pinMode(BOARD_LED_PIN, OUTPUT);
//Send Hello World string over serial port
SerialUSB.println("Hello World");
}
void loop() {
// Check to see if it's time to blink the LED; that is, if the
// difference between the current time and last time we blinked
// the LED is bigger than the interval at which we want to blink
// the LED.
// Every time the led is toggled serial port sends out
// a "Toggled LED" message
// millis function information
if (millis() - previousMillis > interval) {
// Save the last time you blinked the LED
previousMillis = millis();
// If the LED is off, turn it on, and vice-versa:
toggleLED();
SerialUSB.println("Toggled LED");
}
}
If compile is successful, download to the stm32 board. Refer to my previous post to see how to compile the code and download to the board. To see the output, on the menu bar select Tools -> Serial Monitor. Once the code runs you should see BOARD_LED_PIN (green LED) being toggled every (interval)milliseconds. The serial port should also display "Toggled LED" message.


